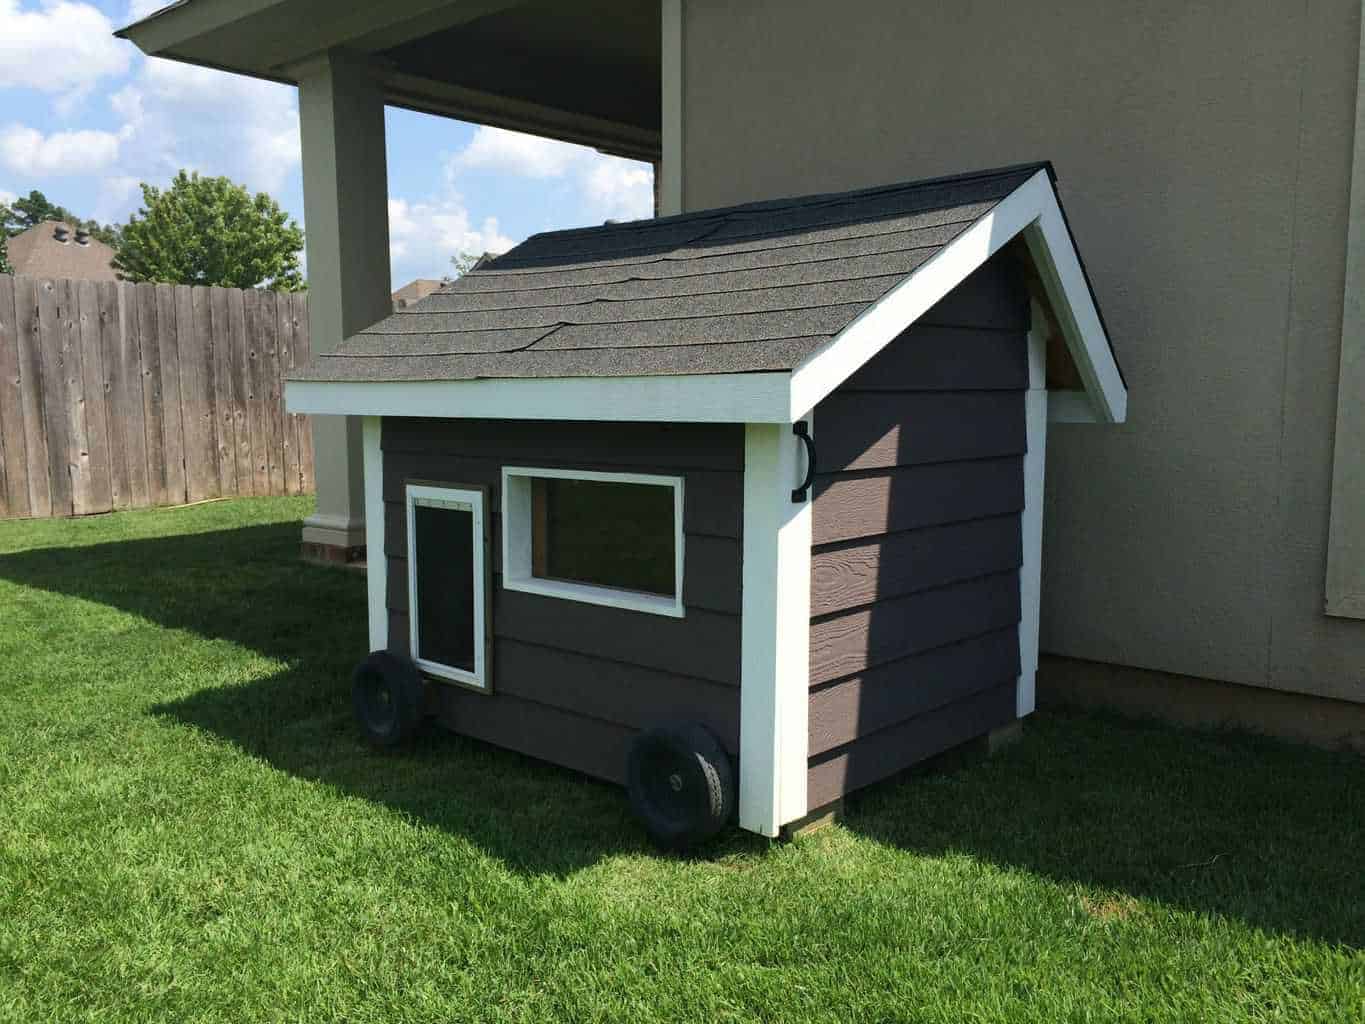
How to Build a Dog House
If you have been wondering how to build a dog house for your pooch, you are on the right page. First, you will need to assemble all the necessary materials for this DIY project. Next, you need a clear blueprint to guide you on how to assemble everything together.
The best dog houses are built from wood. Wood is excellent because it provides the needed insulation from hot or cold weather. Furthermore, wood is durable in the outdoors provided it is treated to protect it from elements like water. That said, here is your guide to building the perfect pad for your canine friend.
Required materials
You will need four 2×4 wood pieces for the base. The first two pieces should measure 22.5 inches while the other two should measure 23 inches. Ensure the wood pieces have a 1.5-inch thickness and will raise the dog house about 3.5 inches from the ground.
Next, you will need 2×2 wood pieces for the walls and roof. The four pieces that will construct the walls need to be 15 inches long while the other four, for the roof, need to be 13 inches long. You will also need;
- Drill and bits
- Galvanized wood screws
- Screwdriver
- Framing square and pencil
- Power or handheld saw
Build a strong base
For the base, attach the 23-inch pieces inside the 22.5-inch pieces. Using the drill bit, drill screw holes on all four corners of the 22.5-inch planks. Secure the pieces together using 3 inches galvanized wood screws and a screwdriver.
Next, you are going to attach the base on top. For the base, use a floor panel that measures 26 inches by 22.5 inches. If you decided to place the 22.5-inch pieces inside the 23-inch pieces for the base, then the floor panel should measure 23 by 25.5 inches. Secure the floor panel to the base using 1-¼ inch screws.
Fit in the walls
On your 2×2 wood plank, use the pencil and framing square to draw the four walls required. For the sidewalls, draw two rectangles each measuring 16 inches by 26 inches. For the front and back walls, you will draw the same 16 by 24-inch rectangle then add a triangle with a 24-inch base and a height of 12 inches. You will use the triangle to attach the roof.
On the front wall panel, you need to cut an opening that will be the door. The door should be 3 inches from the base of the panel and measures 10 inches wide. Ensure the door is centered and should be small enough for your pup to fit through as well as retain heat in the doghouse.
All four walls need additional framing to secure them firmly on the base. Using the same 2×2 wood, cut 8 framing pieces with the first four being 13 inches long and the other four 15 inches long.
The 15-inch frame pieces will secure the walls on the edges. The 13 inches pieces will be attached to the angled sides of the front and back wall triangles. Use 1-¼ inch wood screws to fit the frames on the walls and the triangles for the roof.
Add the roof
For the roof, you need two wood panels measuring 32 by 20 inches. These two planks will rest on the triangular peak then screwed securely on the 13-inch framing pieces. Ensure the screws are spaced 3 inches apart to hold the roof firmly.
Additional tweaks
If you decide to paint the dog house, do so with non-toxic waterproof paint. Secondly, you may add asphalt roofing paper to ensure the dog house remains dry even in rain. Thirdly, add a name tag to mark your pup’s territory and a hook beside the door where you will fasten the leash.


